Top 5 Eclair Dessert Recipe: Homemade French Pastry Steps
Table of Contents
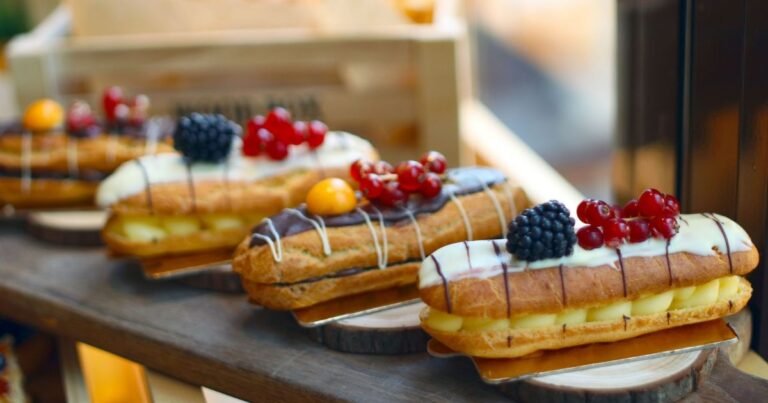
Perfecting a French pastry in your own kitchen often feels like a chase for an unattainable standard of excellence. You see those glossy, oblong treats behind the glass of a Parisian boulangerie and assume there is some hidden magic involved that home cooks simply cannot replicate. The truth is much more grounded in physics and temperature control than in mystery. Achieving professional results with an eclair dessert recipe requires moving past the simplified no-bake versions that use graham crackers and instant pudding. While those shortcuts have their place at a casual potluck, they do not capture the structural integrity or the complex flavor profile of a true choux pastry. To get that signature contrast between a crisp, golden shell and a cool, silky interior, you have to master the science of steam and the art of the emulsion.
The real secret to a high-quality homemade eclair is understanding that every component serves a functional purpose. The shell is not just a container. It is a structural marvel designed to hold moisture without becoming soggy. The filling is not just sweetness. It is a dense, creamy anchor that balances the airiness of the dough. When you commit to a professional-grade eclair dessert recipe, you are learning to balance these elements through precise heat application and high-quality fats. It is a process that rewards patience and attention to detail, turning a few humble pantry staples like flour, eggs, and butter into a dessert that looks and tastes like it belongs in a high-end patisserie. By following the right technical steps, you can bridge the gap between a messy home experiment and a sophisticated pastry that stands up to professional scrutiny.
What Makes a Perfect Eclair Dessert Recipe?
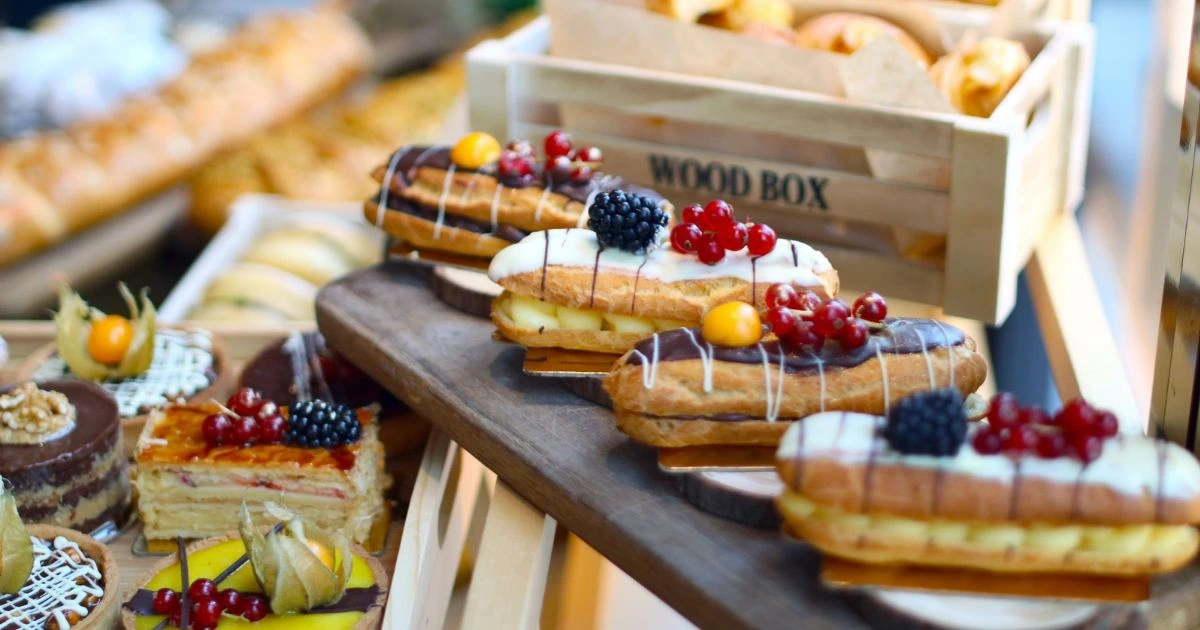
A perfect eclair is defined by three distinct sensory experiences that must happen simultaneously. First, the exterior must offer a slight resistance, a gentle crunch that signals the pastry was dried properly in the oven. Second, the interior must be entirely hollow, leaving ample room for a generous amount of filling without any doughy webbing in the center. Finally, the glaze must be firm enough to touch without sticking to your fingers but soft enough to melt instantly on the tongue. If any of these three pillars fail, the entire dessert feels off-balance. Professional bakers look for a uniform golden-brown color and a straight, even shape that suggests the dough was piped with a steady hand and baked at the correct temperature gradient.
Consistency in the final product comes from the quality of your base. Unlike cakes that rely on chemical leaveners, this pastry relies on the physical expansion of water into steam. This means your ratios must be exact. If there is too much moisture in the dough, the shells will collapse. If there is too little, they will not puff. The goal is a finished product that feels incredibly light for its size. When you pick up a filled eclair, it should feel substantial because of the cream, but the shell itself should contribute almost zero weight to the experience. This delicate balance is what separates a heavy, oily pastry from a refined French classic.
The Importance of Pate a Choux Consistency
The foundation of any authentic eclair dessert recipe is the pate a choux, or cabbage paste, named for the way the little puffs resemble small cabbages. The most critical step in this process happens on the stovetop before the eggs are even touched. You must cook the flour, water, milk, and butter mixture until a thin film forms on the bottom of the pan. This step is not just about mixing ingredients. It is about evaporating a specific amount of moisture and gelatinizing the starches in the flour. Without this preliminary cooking, the dough will be too wet to hold its shape when piped, leading to flat, sad pancakes instead of proud, hollow tubes.
Once the flour base is cooked, adding the eggs requires a keen eye for texture. You are looking for a “V” shape when you lift the spatula. The dough should be glossy and smooth, falling slowly from the tool. If you add too many eggs, the dough becomes a liquid mess that cannot be saved. If you add too few, the pastry will be tough and fail to expand. Professional results depend on this specific hydration level. Experienced bakers often whisk the last egg separately and add it teaspoon by teaspoon to ensure they do not cross the line from perfect to ruined. It is a game of millimeters and grams where the reward is a shell that stands tall and stays crisp for hours.
Balancing Flavors in an Eclair Cake
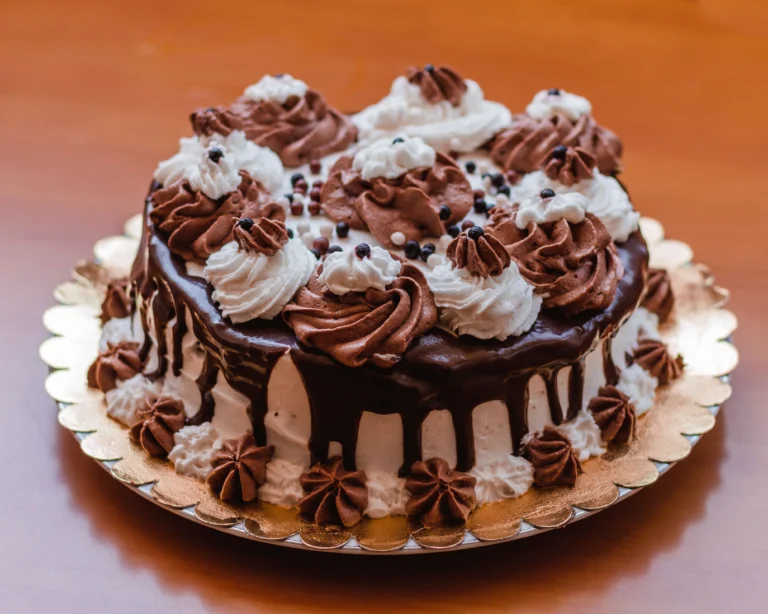
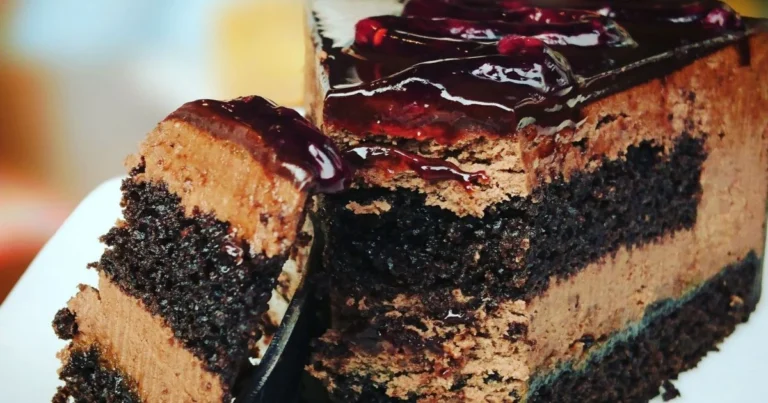
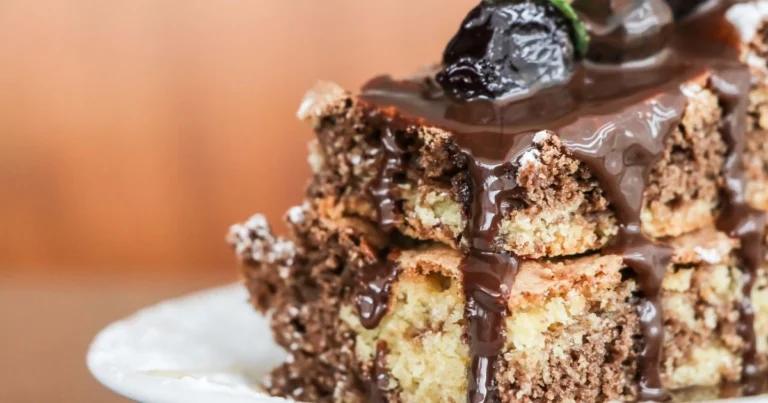
When you transition from individual pastries to a larger format like a chocolate eclair cake recipe, the flavor balance becomes even more vital. In a small eclair, the ratio of glaze to pastry is high. In a cake format, you are dealing with larger volumes of cream and more surface area of dough. The sweetness of the chocolate glaze must be carefully calibrated to complement, not overpower, the airy pastry. Using a dark chocolate with at least 60 percent cocoa solids provides a necessary bitterness that cuts through the rich, buttery notes of the choux and the sweet vanilla of the custard filling.
The salt content in the dough also plays a massive role in flavor perception. A pinch of high-quality sea salt in the choux dough enhances the toasted grain flavors of the flour and makes the chocolate topping pop. Without that salt, the entire dessert can taste flat and sugary. A professional-grade chocolate eclair dessert recipe will also emphasize the use of real vanilla bean or high-potency vanilla paste in the filling. The tiny black specks of vanilla bean not only look beautiful but provide a floral, complex aroma that synthetic extracts simply cannot match. This depth of flavor ensures that every bite is multidimensional rather than just a hit of sugar.
How Do You Make an Original Eclair Cake Recipe?
The original eclair cake recipe finds its roots in 19th-century France, specifically credited to the legendary chef Marie-Antoine Careme. Originally called “pain a la duchesse,” the dessert was a simple finger-shaped pastry filled with jam or cream. Over time, it evolved into the chocolate-glazed icon we know today. The traditional version differs significantly from the modern “eclair cake” found in many North American kitchens, which often uses crackers or biscuits. The authentic version is a labor of love, involving a cooked custard known as creme patissiere and a meticulously prepared dough that requires physical stamina to stir by hand.
Understanding the historical context helps you appreciate the components. You are not just making a cake. You are constructing a series of technical layers. The traditional approach demands that each element be made from scratch. The filling must be a true custard thickened with egg yolks and cornstarch, not a boxed mix. The glaze must be a ganache or a fondant, providing a professional shine that reflects the light. By sticking to these traditional methods, you ensure a texture that is both creamy and structural, allowing the cake to be sliced into clean, beautiful portions that hold their shape on a plate.
Preparing the Pastry Cream Filling
The heart of a great eclair is the pastry cream, or creme patissiere. To achieve professional results, you must start with whole milk and high-quality egg yolks. The process begins by tempering the eggs, which means slowly drizzling hot milk into the yolk and sugar mixture while whisking constantly. This prevents the eggs from scrambling. If you rush this step, you will end up with sweet pieces of cooked egg in your filling, which is a guaranteed way to ruin the dessert. Once tempered, the mixture goes back on the heat to thicken into a dense, spreadable custard.
A silky vanilla bean custard is the gold standard for an original eclair cake recipe. After the custard has thickened and cooked for a minute to remove the raw flour taste, you should whisk in cold butter to add a luxurious mouthfeel and a glossy finish. The cream must then be chilled completely with plastic wrap pressed directly onto the surface to prevent a skin from forming. For an even lighter texture, some professionals fold in a small amount of stiffly whipped heavy cream once the custard is cold, creating what is known as creme diplomate. This variation adds volume and a cloud-like quality that makes the dessert feel less heavy.
Achieving the Iconic Oblong Shape
Piping is where many home bakers feel the most pressure. To get that iconic oblong shape, you need a large open star tip or a plain round tip with at least a half-inch diameter. The trick is to hold the piping bag at a 45-degree angle and maintain consistent pressure. You want to pipe logs that are about four inches long and one inch wide. If you stop and start the pressure, the eclair will have “waists” or thin spots that will break during the filling process. Using a template underneath your parchment paper can help ensure every single shell is the exact same size.
Uniformity is not just about aesthetics. It is about even baking. If you have some large shells and some small ones, the small ones will burn before the large ones are cooked through. Before the trays go into the oven, many pros lightly brush the tops with an egg wash or dust them with powdered sugar. This helps control the expansion of the dough, preventing the shells from cracking or bursting in irregular patterns. A smooth, even rise is the hallmark of a baker who understands how to manage the tension of the dough and the flow of the piping bag.
What Ingredients Are Needed for a Chocolate Eclair Dessert Recipe?
To produce a chocolate eclair dessert recipe that rivals a professional bakery, you cannot compromise on your raw materials. You need high-fat European-style butter, which typically has a fat content of 82 percent or higher. This lower water content ensures the pastry is richer and crisper. You also need bread flour or a high-protein all-purpose flour to provide the structure necessary to hold the steam. For the filling, look for heavy cream with at least 36 percent milkfat and the freshest eggs you can find. The orange hue of high-quality pasture-raised yolks will give your pastry cream a beautiful, natural golden color.
Water vs milk in the dough is a common debate. Most professional recipes use a 50/50 split. The water allows for a higher baking temperature and a crisper shell, while the milk provides sugars that help the pastry brown and adds a softer, more flavorful crumb. You will also need granulated sugar for the custard and a pinch of fine salt. Avoid using coarse salt, as it may not dissolve fully in the quick-cooking dough, leading to salty hot spots in your finished pastry. Every ingredient should be at room temperature before you start to ensure they emulsify properly during the mixing process.
Choosing the Best Chocolate for Glazing
The glaze is the first thing a person tastes, so the chocolate choice is paramount. You essentially have two options: compound chocolate or couverture chocolate. Compound chocolate contains vegetable fats instead of cocoa butter. It is easier to work with because it doesn’t require tempering and sets up very hard. However, it often has a waxy mouthfeel and lacks the complex flavor profile of real chocolate. If you are looking for the best possible results, you should avoid compound chocolate for a high-end eclair dessert recipe.
Couverture chocolate is the professional choice. It contains a higher percentage of cocoa butter (at least 31 percent), which gives it a superior shine and a “snap” when you bite into it. It also melts beautifully on the tongue. When making a ganache for your chocolate eclair cake recipe, use a 1:1 ratio of couverture chocolate to heavy cream. This creates a glaze that is stable enough to hold its shape but soft enough to remain fudgy. For an extra professional touch, add a tablespoon of corn syrup or glucose to the glaze to give it a mirror-like shine that stays glossy even after it has been refrigerated.
Essential Dairy Items for the Filling
The texture of your filling is entirely dependent on your dairy selection. Whole milk is non-negotiable for the pastry cream. Skim or low-fat milk will result in a watery, thin custard that will leak out of the shells. The fat in whole milk carries the vanilla flavor and provides the structural stability needed for the cornstarch to do its job. If you want an even richer filling, you can replace a quarter of the milk with heavy cream, though this makes for a very dense result that might overshadow the light pastry.
Heavy cream is also essential if you are making a no-bake chocolate eclair cake recipe variant. In those versions, the cream is often whipped to stiff peaks and folded into the pudding to create a mousse-like consistency. When choosing heavy cream, check the label for stabilizers like carrageenan. While purists prefer cream without additives, a little stabilizer can actually help the filling hold its shape longer in a warm room. Regardless of the version you choose, ensure your dairy is cold when whipping and fresh to avoid any sour off-flavors that would be magnified in such a simple dessert.
How to Execute the Chocolate Eclair Cake Recipe Steps?
The execution of a chocolate eclair cake recipe involves a series of time-sensitive stages that must be followed in order. First, you prepare the pastry cream, as it needs several hours to chill and set. While the cream is cooling, you move on to the choux dough. This involves boiling the liquids and butter, dumping in the flour all at once, and stirring vigorously. The goal is to create a cohesive ball of dough that pulls away from the sides of the pot. After letting the dough cool slightly so you don’t cook the eggs on contact, you beat the eggs in one by one until the texture is perfect.
Once the shells are piped and baked, the final stage is assembly. You must ensure the shells are completely cold before filling. If you try to fill a warm shell, the cream will melt, the pastry will become soggy, and the glaze will slide right off. The process is a test of patience. The total time from start to finish is usually around four hours, including cooling times. While it seems like a lot of work, the result is a dessert that has a level of sophistication and texture that no store-bought version can match. It is a rewarding process that turns basic ingredients into a masterpiece through the application of heat and technique.
Mastering the Triple-Stage Baking Process
To get that hollow center, you cannot simply bake the eclairs at one temperature. Most professional bakers use a triple-stage or at least a dual-stage temperature profile. You start with a very high heat, around 425 degrees Fahrenheit (220 degrees Celsius). This initial blast of heat causes the water in the dough to turn into steam rapidly, forcing the pastry to expand and rise. This creates the “hollow” center that is essential for the eclair dessert recipe. Without this high initial heat, the pastry will be dense and heavy.
After about 10 to 15 minutes, you lower the oven temperature to 375 degrees Fahrenheit (190 degrees Celsius) to allow the shells to cook through and become golden brown without burning. The final stage involves propping the oven door open slightly or using a toothpick to prick the side of each shell. This allows the remaining steam to escape from the inside of the pastry. If that steam stays trapped, it will turn back into water as the pastry cools, making the shell soft and soggy. This “drying out” phase is the difference between a professional, crisp eclair and a homemade one that deflates five minutes after leaving the oven.
Filling the Pastry without Tearing the Shell
Filling the shells is a delicate operation. You have two main methods: the “poke and fill” or the “sandwich” method. The professional way is the poke and fill. Using a small, sharp knife or a specialized piping tip, you make two or three small holes in the bottom of the shell. You then insert the piping tip into each hole and squeeze until you feel the shell expand slightly and become heavy. You should stop as soon as you see a little cream start to peek out of the hole. This ensures the eclair is completely full from end to end without any air pockets.
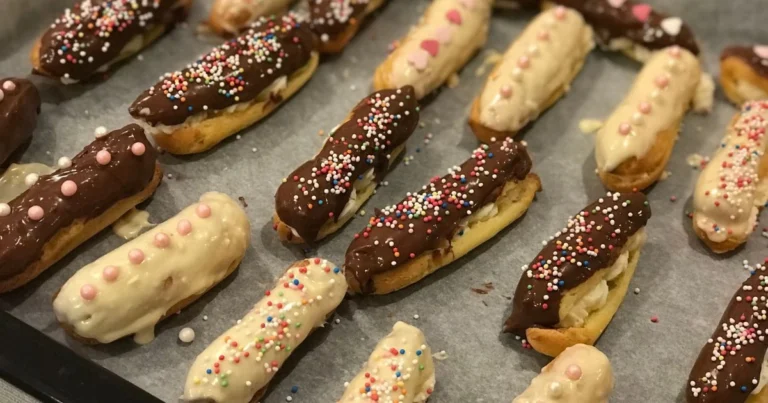
The sandwich method involves slicing the shell in half horizontally, piping a decorative line of cream onto the bottom half, and placing the top half back on. While this is easier and looks beautiful, it makes the eclair harder to eat and causes the filling to squish out the sides. If you are making a chocolate eclair dessert recipe for a formal event, the bottom-fill method is much cleaner. It keeps the filling contained and allows you to dip the top of the eclair into a bowl of warm glaze, creating a perfectly smooth, professional finish that covers any imperfections in the pastry.
Why Does an Eclair Cake Differ from a Trifle?
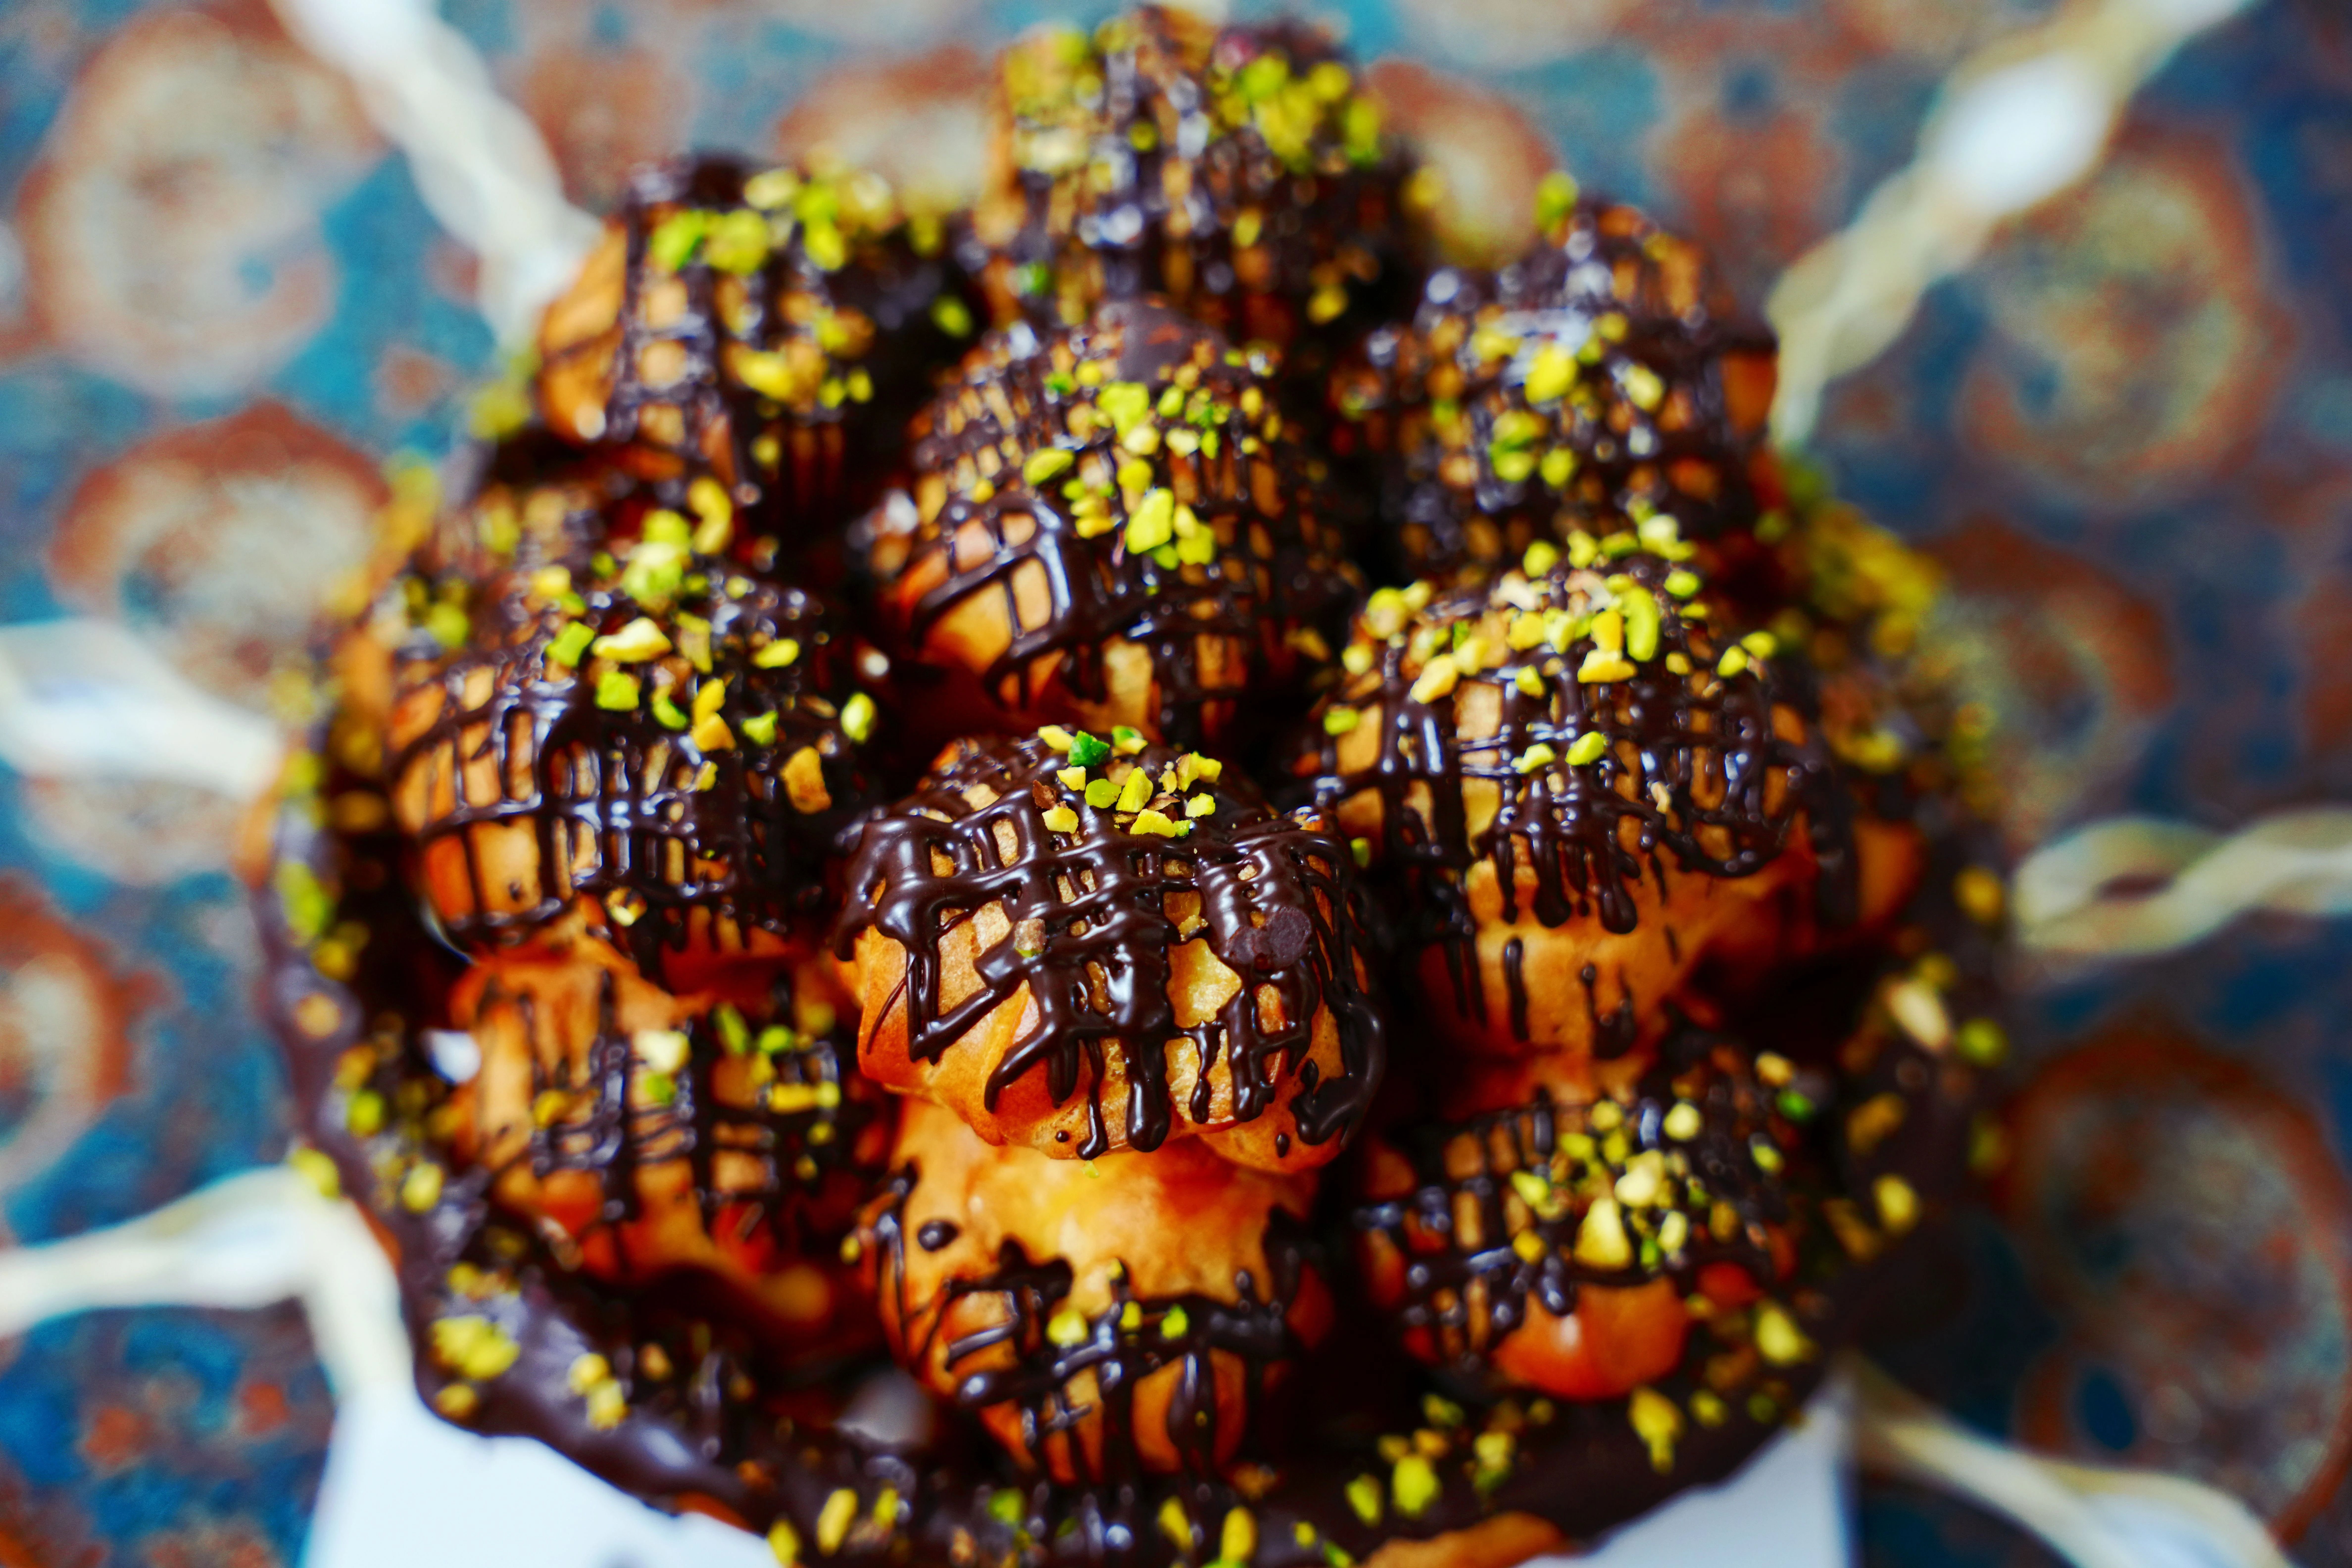
In the world of desserts, naming conventions can get confusing. A traditional eclair dessert recipe produces individual pastries, but the term “eclair cake” often refers to a layered dessert. It is important to distinguish this from a trifle. A trifle is generally made with chunks of sponge cake or ladyfingers soaked in alcohol or syrup, layered with fruit and loose custard in a large glass bowl. An eclair cake, specifically the professional version, uses whole layers of choux pastry or a specific arrangement of eclairs to maintain a structural, sliceable form. The texture of an eclair cake is firmer and more focused on the interaction between the crisp dough and the thick cream.
Another key difference is the moisture content. Trifles are meant to be wet and soft, often eaten with a spoon. An eclair cake should still have some of the structural integrity of the individual pastries. Even in the popular no-bake chocolate eclair cake recipe versions that use graham crackers, the goal is for the crackers to soften just enough to mimic the texture of a pastry layer, but not so much that they turn into mush. Understanding these differences helps you set the right expectations for your guests and choose the correct serving vessels and tools for the job.
The Role of Steam in Leavening
The most fascinating part of the eclair dessert recipe is the science of the rise. Choux pastry is unique because it contains no chemical leaveners like baking powder or baking soda, and no biological leaveners like yeast. The entire lift comes from steam. Because the dough is cooked on the stove first, the starches are primed to trap moisture. When that moisture hits the high heat of the oven, it expands to 1,600 times its original volume. This rapid expansion is what blows the dough up like a balloon.
The high protein content in the eggs then sets the structure, creating a firm wall that holds that shape even after the steam has dissipated. This is why the ratio of liquid to flour is so vital. If you have too much liquid, the steam will be too heavy and the walls of the pastry will be too weak to hold it. If you have too little, there won’t be enough steam to create the hollow center. It is a perfect example of culinary physics in action, where the mechanical action of the oven does the work that chemicals usually perform in other cakes.
Storage and Make-Ahead Strategies
Eclairs are notoriously difficult to store because the moisture in the cream naturally wants to migrate into the crisp shell. For the best results, you should fill and glaze your eclairs as close to serving time as possible. However, you can make the components ahead of time. The baked, unfilled shells can be stored in an airtight container at room temperature for a day or frozen for up to a month. If they lose their crispness, a five-minute stint in a 300-degree oven will crisp them right back up. Just make sure they are completely cool again before you fill them.
The pastry cream can be made up to two days in advance and kept in the refrigerator. The glaze should be made fresh, as it is easiest to work with when it is warm and fluid. If you are making a large chocolate eclair cake recipe, it actually benefits from a few hours in the fridge to allow the layers to settle and the flavors to meld. However, beyond 24 hours, the pastry will inevitably start to soften. If you must store filled eclairs, keep them in a single layer in a container that isn’t completely airtight. A little bit of air circulation can help prevent them from becoming completely soggy.
Common Challenges with an Eclair Dessert Recipe
Even for experienced bakers, the eclair dessert recipe can present hurdles. The most common issue is the “deflated shell” syndrome, where the eclairs look perfect in the oven but collapse the moment you take them out. This usually happens because the interior was still wet. Another frequent problem is a lumpy filling. This usually occurs when the heat is too high during the custard-making process or when the eggs aren’t tempered correctly. These issues are frustrating, but they are all avoidable with a few technical adjustments and a bit of practice.
Cracking is another common complaint. If your oven has a strong convection fan, it can dry the surface of the dough too quickly, causing it to crack as it tries to expand. Turning off the fan or lightly spraying the oven with water to create a humid environment can help. Also, ensure your piping tip is clean. A jagged edge on your piping tip will create a weak point in the dough that will likely split during the bake. Small details like these make the difference between a batch of eclairs that looks like it came from a factory and a batch that looks like it came from a master patissier.
Fixing Deflated or Soggy Shells
If you pull your shells out of the oven and they feel soft or start to sag, you need to act fast. You can put them back in a low oven (about 300 degrees Fahrenheit) for another 5 to 10 minutes. The key is to make sure you have pricked the sides to let the steam escape. If the shells are already completely cold and soggy, they can be revived, but they will never be quite as good as a perfectly baked first attempt. Prevention is always better than the cure in this scenario.
To ensure they stay dry, some bakers leave the shells in the turned-off oven with the door cracked for 30 minutes after the baking time is finished. This slow cooling process helps the structure fully dehydrate. Also, check your flour. If you are using a flour with very low protein (like cake flour), the shells won’t have the strength to stay upright. Stick to a standard all-purpose or bread flour to give the walls the “rebar” they need to support the weight of the glaze and the internal pressure of the steam.
Preventing a Lumpy Pastry Cream
Lumps in pastry cream are almost always the result of localized overheating. When you are thickening the custard, you must whisk the entire bottom of the pan, not just the center. Use a whisk that can reach into the corners of your saucepan. If you see even a single lump forming, remove the pan from the heat immediately and whisk vigorously until it disappears before continuing. Constant motion is your best defense against a grainy texture.
If the worst happens and you end up with a lumpy cream, all is not lost. You can pass the warm custard through a fine-mesh sieve (a chinois). This will catch the cooked egg bits and flour clumps, leaving you with a smooth product. You can also give it a quick pulse with an immersion blender. However, these are rescue missions. The goal should always be a smooth cook from the start. Straining the mixture is a standard professional step anyway, as it ensures that even the tiniest imperfections are removed before the cream is used in your eclair dessert recipe.
Master Your Next Eclair Creation
Mastering the eclair dessert recipe is a rite of passage for any serious home baker. It represents a transition from simply following instructions to understanding the fundamental relationship between temperature, moisture, and structure. Once you have successfully produced a batch of crisp, hollow, and beautifully glazed eclairs, you will have the confidence to tackle almost any other French pastry. The skills you learn here, from tempering eggs to piping dough, are the building blocks of a professional-level culinary repertoire. Don’t be discouraged if your first batch isn’t perfect. Even the best chefs have had their share of flat shells and lumpy creams.
Now it is your turn to take these professional techniques into your kitchen. Start with high-quality ingredients, keep a close eye on your dough consistency, and don’t rush the cooling process. When you finish your creation, share your success! Post a photo of your golden-brown shells or that perfect cross-section of vanilla cream on social media. Tag your favorite baking community and use these tips to help others who might be struggling with their own pastry journey. There is nothing quite as satisfying as the first bite of a perfectly executed eclair that you made entirely from scratch.
Frequently Asked Questions
Why did my eclair shells come out flat?
Flat shells are usually caused by either too much moisture in the dough or an oven temperature that was too low. If you didn’t cook the flour and water mixture long enough on the stove, the dough will be too runny to hold steam pressure. Additionally, if the oven isn’t hot enough to turn water into steam instantly, the dough won’t expand before the structure sets.
Can I use a no-bake method for a professional eclair cake?
While no-bake versions using graham crackers are popular for their ease, they do not produce the same professional results as a baked choux pastry. The no-bake version is essentially a refrigerator cake that mimics the flavors but lacks the crisp, airy texture of a true pastry. For professional results, you must bake the choux layers.
How do I get a mirror-like shine on my chocolate glaze?
A professional shine is achieved by adding a small amount of liquid glucose or light corn syrup to your chocolate ganache. You should also avoid over-mixing the glaze, which can introduce air bubbles. For the smoothest look, dip the eclairs while the glaze is warm and fluid, then let them set at room temperature before refrigerating.
Is it better to use butter or oil in the choux dough?
Butter is the standard choice for professional eclairs because it provides both flavor and structure. The milk solids in butter help with browning, while the fat provides a richness that oil cannot match. Using oil will result in a shell that is greasy and lacks the characteristic toasted-butter aroma of a classic French pastry.
Why is my pastry cream too runny to stay inside the eclair?
Runny pastry cream is usually the result of undercooking the cornstarch. Cornstarch must reach a boil to activate its thickening properties. If you stop whisking as soon as it looks thick, it may thin out again as it cools. Ensure the custard bubbles for at least one full minute while whisking to ensure a stable, pipeable set.
Can I make the eclair shells in advance?
Yes, you can bake the shells up to 24 hours in advance and store them in an airtight container at room temperature. For longer storage, you can freeze the baked shells for up to a month. Just be sure to crisp them in a 300-degree oven for a few minutes before filling to remove any moisture they may have absorbed.
What is the difference between an eclair and a cream puff?
Both eclairs and cream puffs (profiteroles) are made from the same pate a choux dough. The primary difference is the shape and the topping. Eclairs are piped into long oblongs and usually topped with a chocolate glaze, while cream puffs are piped into rounds and often topped with powdered sugar or a caramel crackle (craquelin).The secret to a professional eclair isn’t a secret ingredient, it is the mastery of steam and the patience to let the pastry dry completely.
With these techniques and a commitment to quality, you are ready to produce a dessert that is as beautiful to look at as it is delicious to eat.