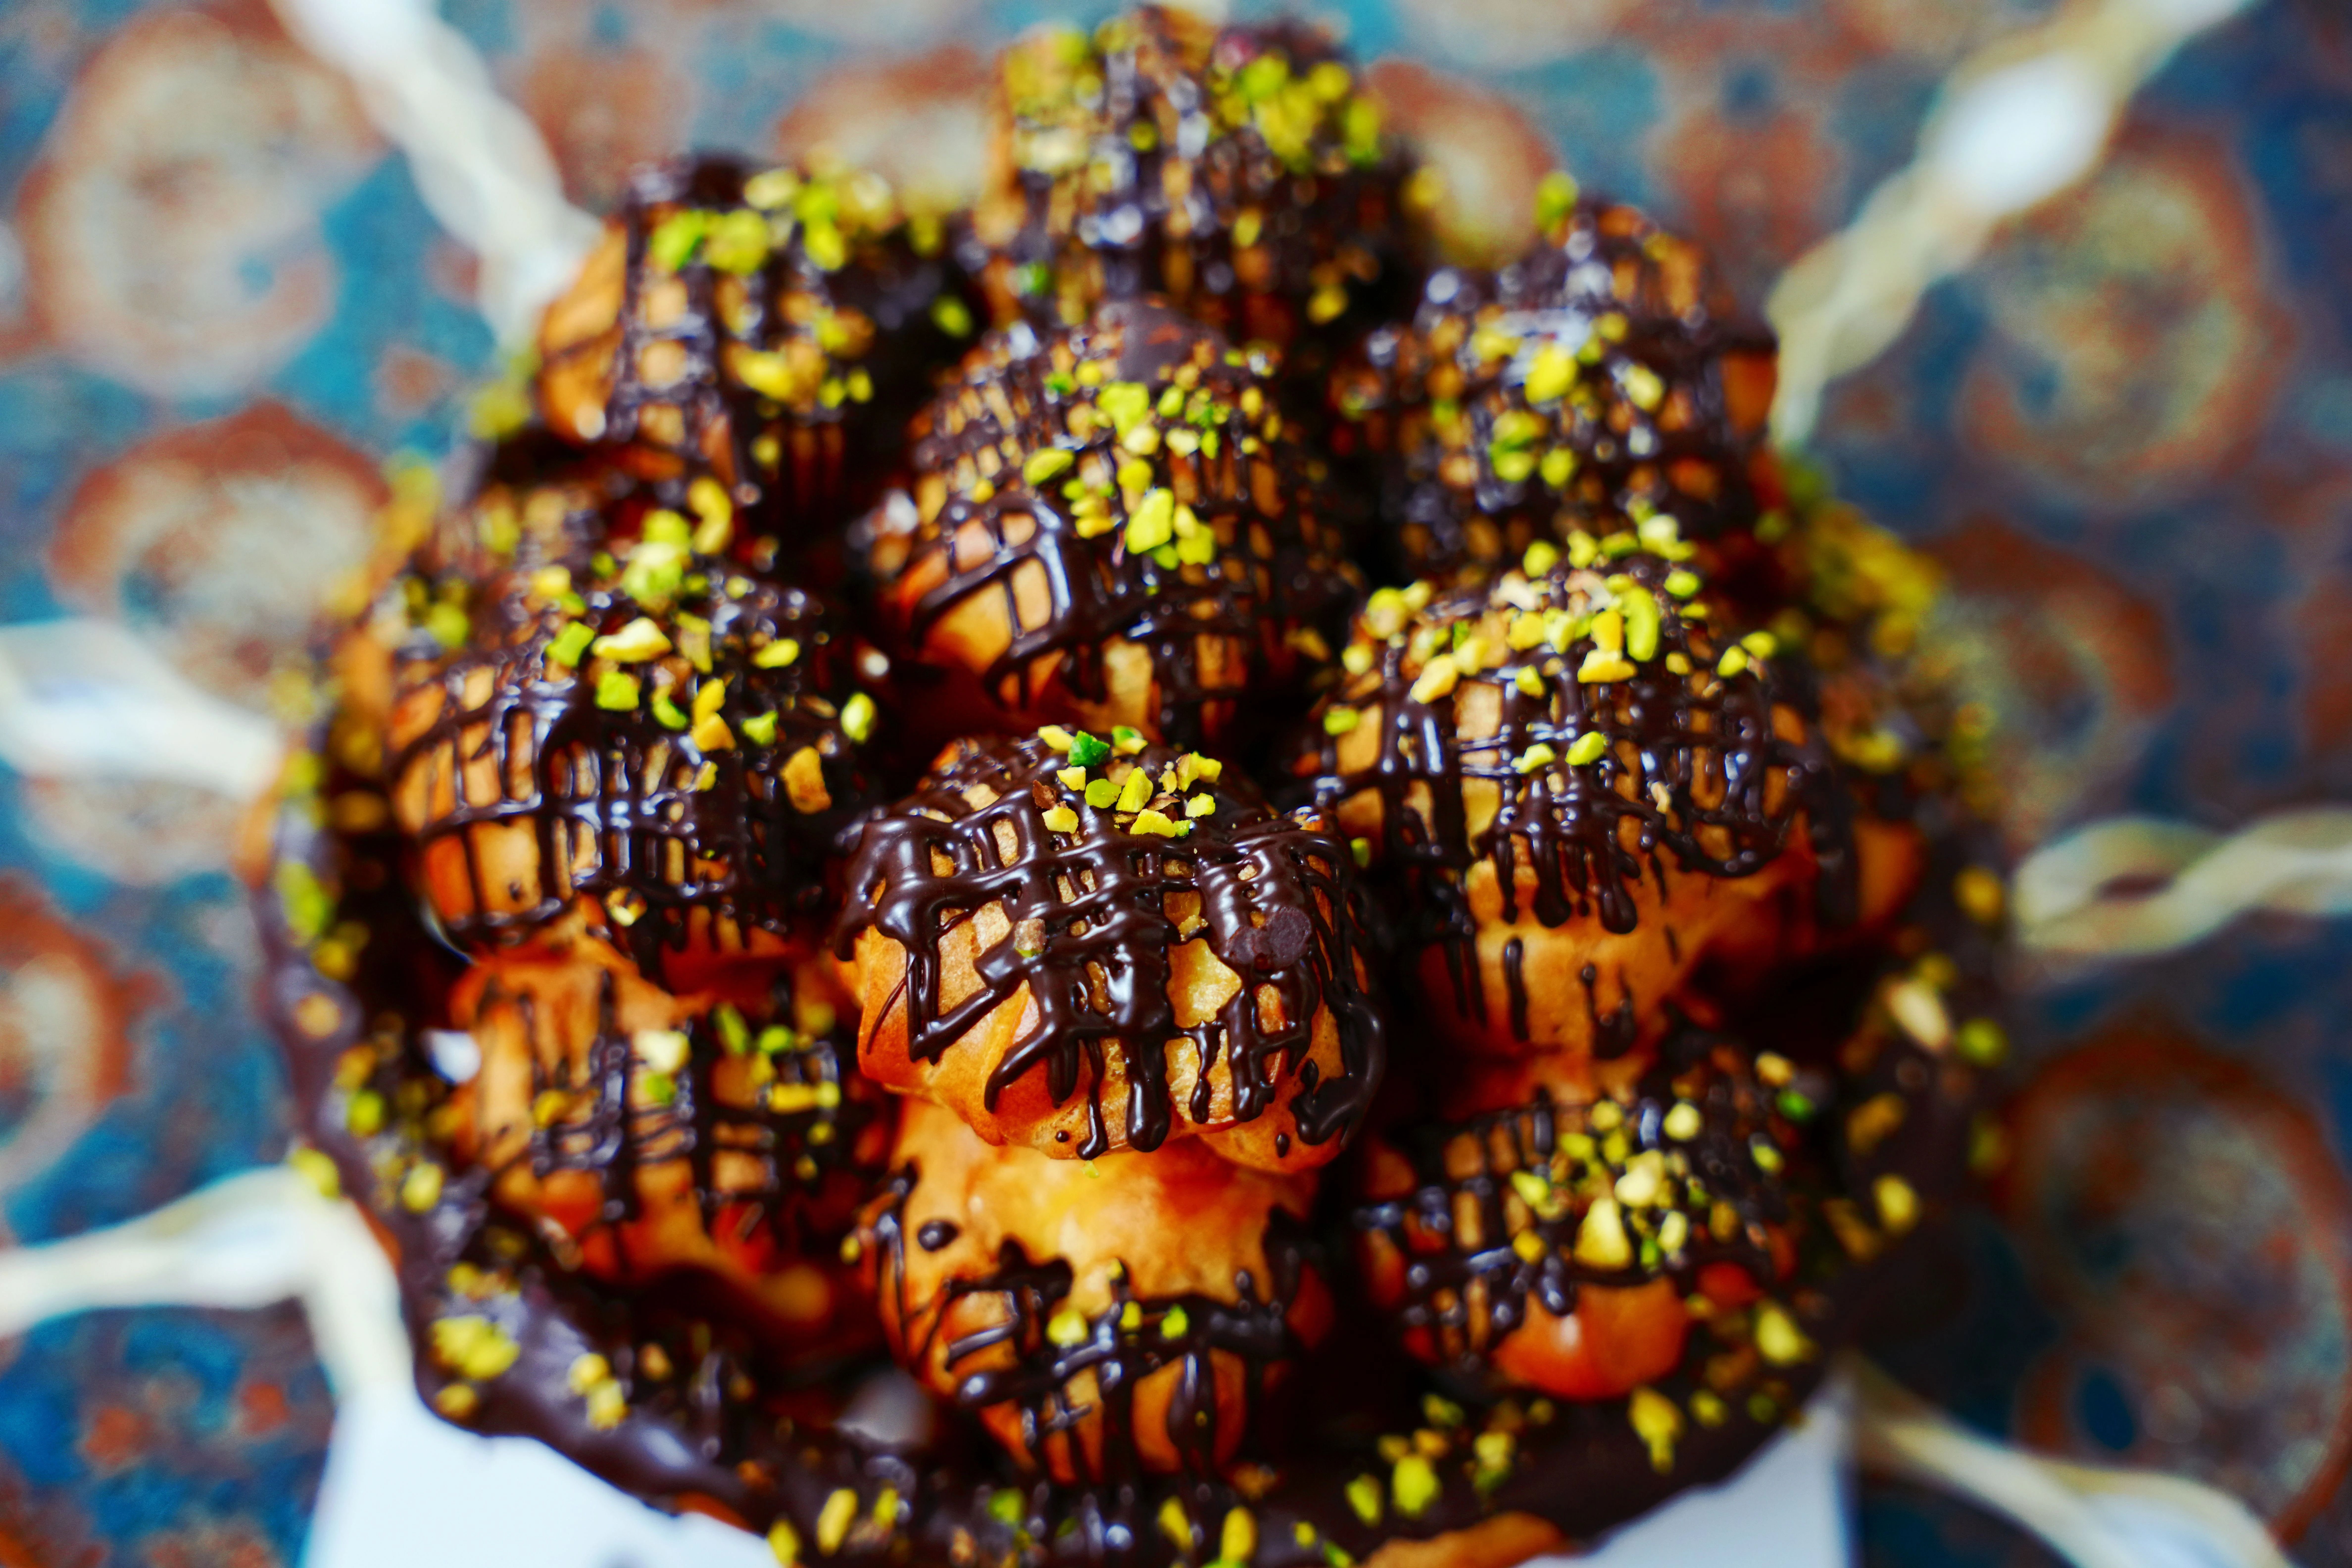
Original Eclair Cake Recipe: Classic Chocolate Dessert in 2026
Table of Contents
The original éclair cake recipe is not what your grandmother baked in an oven, and that is precisely why it has become the dessert people actually make. Most home bakers assume “éclair cake” means you are building something complicated, layering choux pastry and piping cream. Wrong. What you are actually looking at is a no-bake dessert that sits in your refrigerator, soaking up flavors for hours, delivering the taste of a chocolate éclair in sheet-cake form without a single minute of active baking.
The risk of skipping this recipe altogether is underestimating how much impact a simple, unfussy dessert can have. Serve this at a dinner party and people will ask for the recipe. Bring it to a potluck and it will disappear. The layers are straightforward. The flavor is undeniable. And here is the thing nobody tells you: the longer it sits in the refrigerator, the better it tastes.
What Makes This Éclair Cake Different?
You might have seen a dozen variations of this dessert online, each one claiming to be the “authentic” version or the “best” version. Most of them are not wrong, but they are not quite right either. The original éclair cake recipe is a specific thing: graham crackers on the bottom, a custard-cream filling in the middle, and chocolate ganache on top. No fancy choux pastry. No piping bag required. No oven involved past the moment you might toast your graham cracker base (and even that is optional).
This recipe differs from modern variations because it honors simplicity. You are not trying to replicate the technical precision of a French pâtisserie. You are trying to capture the flavor and texture of an éclair using ingredients that are already in your pantry or a five-minute trip to the grocery store. The modern versions you see often add extra layers, swap in different pudding flavors, or get creative with toppings. Those are fun. But they are not the original.
The History of Éclair Cake
This dessert emerged in American home kitchens sometime in the 1970s and 1980s, during the era when icebox cakes were having a quiet renaissance. Bakers were looking for shortcuts, and they found them. The dessert was never fancy. It was born from pragmatism: take a beloved flavor combination (chocolate and cream), remove the technical barrier (no baking, no tempering), and make it foolproof enough that anyone could serve it at a dinner party without stress.
The éclair cake became popular precisely because it felt like cheating in the best way possible. You were using instant pudding mix and frozen whipped topping, ingredients that had been sitting in American kitchens for decades, and somehow the result tasted sophisticated. The chocolate ganache on top gave it polish. The graham cracker base gave it structure. The refrigeration time gave it depth. It was a dessert that made the baker look competent without requiring competence.
Why This Recipe Has Stood the Test of Time
Authenticity matters less than reliability in home cooking. This recipe has survived for fifty years because it delivers the same result every single time. You cannot mess it up. The worst version of this dessert is still better than no dessert at all. The best version rivals anything you would order from a bakery, and it costs a fraction of the price.
Crowd-pleasing appeal is another reason this recipe never fades. There is something about the combination of chocolate, vanilla cream, and graham cracker that hits a nerve in the American dessert palate. It is familiar enough to feel safe, interesting enough to feel special, and easy enough that you will actually make it again. That combination of factors is rarer than it sounds.
The ease of preparation cannot be overstated. You are not managing temperatures, watching for soft peaks, or timing anything precisely. You are layering ingredients and waiting. That is it. For a dessert that looks and tastes like you spent hours on it, this is as close to effortless as you get.
What Ingredients Do You Need for Homemade Éclair Cake?
The ingredient list for this dessert is short enough to memorize, but the quality of each ingredient matters more than you might think. This is not a recipe where you can phone it in and expect decent results. Every component has a job. Choose thoughtfully.
Base Layer: Graham Crackers and Butter
Your foundation is two sleeves of graham crackers, roughly two cups when crushed. Do not use honey graham crackers if you can avoid it. They add sweetness that competes with the filling and topping. Plain or lightly salted graham crackers work best. Crush them until you have a mixture of fine crumbs and slightly larger pieces. You want texture, not flour.
Butter is the binder. You need about six tablespoons, melted. Some recipes call for less. Those recipes produce a base that falls apart when you try to cut it. Six tablespoons creates a crust that is firm enough to hold the layers above it without being so dense that it feels heavy. If you want extra insurance, you can toast your cracker-butter mixture in a 350-degree oven for about five minutes before pressing it into your nine-by-thirteen-inch pan. This firms everything up and creates a slight textural contrast that lifts the whole dessert.
Press this mixture firmly and evenly across the bottom of your pan. Use the bottom of a measuring cup or a flat-bottomed glass to create an even surface. Spend thirty seconds on this step. A level base prevents the filling from pooling in one corner and ensures even moisture absorption as the dessert sits.
Filling: Custard Cream Mixture
The filling is where this dessert gets its soul. You need three cups of milk, two packages of instant vanilla pudding mix (the five-point-one-ounce boxes), and eight ounces of frozen whipped topping, thawed. This is the traditional approach, and it works because instant pudding is formulated to set to a specific texture with a specific ratio of liquid. If you deviate from the three-cups-to-two-packages formula, you risk ending up with filling that is either too thin or too thick.
Whisk the pudding mix with the milk for about two minutes. This is not the time to be lazy. The pudding needs to fully hydrate and begin setting. You should feel slight resistance as you whisk, a sign that the mixture is thickening. Then fold in the whipped topping gently, using a rubber spatula and moving from the bottom of the bowl upward. You are looking for a mousse-like consistency, airy but stable.
If you want to use homemade custard instead of instant pudding, that is a different conversation, and there is a section below dedicated to it. For now, know that the instant pudding approach is reliable, foolproof, and produces a filling that sets properly and holds its shape through the refrigeration period.
Topping: Chocolate Ganache
The ganache is the final layer, and it should taste like actual chocolate, not chocolate-flavored coating. Use six ounces of semi-sweet or dark chocolate, chopped into small pieces. Pour one cup of heavy cream into a saucepan and heat it until it just begins to steam. You are not looking for a rolling boil. Just heat.
Pour the hot cream over the chopped chocolate and let it sit for thirty seconds. The heat will soften the chocolate. Then stir slowly until the mixture is smooth and glossy. This is where patience matters. If you stir too aggressively, you incorporate air and the ganache becomes grainy. Slow, deliberate stirring produces a silky, professional-looking topping.
Some recipes add a tablespoon of cocoa powder to the ganache for extra chocolate intensity. Others add a tablespoon of butter for extra richness. Both are worthwhile additions if you want to customize the topping. For the original recipe, the ganache as described above is sufficient.
How Do You Layer an Éclair Cake Correctly?
Assembly is where precision matters. This is not a forgiving step. The order and technique determine whether your dessert is a beautiful, unified creation or a stack of separate components.
Creating the Stable Graham Cracker Base
You have already pressed your cracker-butter mixture into the pan and, ideally, toasted it. Let it cool to room temperature. This base needs to be firm enough to support the weight of the filling without crumbling or shifting. If you skip the toasting step, refrigerate the base for at least fifteen minutes before moving to the next layer. Cold cracker crust is more stable than warm crust.
The base layer also needs to be thin enough that it does not overwhelm the other layers. Aim for about a quarter-inch thick. This provides structure without making the dessert feel heavy or crumbly when you bite into it. The base should support the filling, not dominate it.
Moisture control is critical here. The graham crackers will absorb liquid from the filling above them as the dessert sits. This is actually desirable. It is what creates the icebox-cake texture that makes this dessert so appealing. But if your base is too thin or too loosely packed, it will become mushy rather than just softened. A quarter-inch thickness and firm packing prevent this from happening.
Spreading the Creamy Custard Filling Evenly
Pour the pudding-whipped-topping mixture over your cooled base. Do not try to spread it immediately. Let gravity do some of the work. Use a spatula to gently guide the filling toward the corners and edges, but do not force it or compress it. You want the filling to settle naturally into an even layer.
The filling should be about an inch thick, maybe slightly less. This thickness ensures that you get a proper ratio of filling to graham cracker to chocolate topping in every bite. If your filling is too thin, the dessert tastes like chocolate and cracker with barely any cream. If it is too thick, the cream overwhelms everything else.
Smooth the top with your spatula, but do not overwork it. The filling is delicate. The more you push and pull at it, the more you deflate the whipped topping and the denser the final texture becomes. A light touch is better than a heavy hand. Aim for smooth and level, not polished and compacted.
Refrigerate this layered base for at least two hours before adding the ganache. This gives the pudding time to set and the graham crackers time to begin absorbing moisture. The filling will firm up slightly, creating a stable surface for the chocolate topping.
Can You Make Chocolate Éclair Cake Without Pudding Mix?
The instant pudding approach is standard because it is reliable and produces consistent results. But if you want to make this dessert entirely from scratch, you can. It requires a bit more technique and a bit more attention, but the results are worth it if you are committed to avoiding packaged mixes.
Classic Custard Sauce as a Pudding Substitute
A proper French custard sauce, or crème anglaise, can replace the instant pudding. You need four egg yolks, one-third cup of sugar, one and a half cups of whole milk, and one and a half teaspoons of vanilla extract. Whisk the yolks and sugar together in a bowl until the mixture is pale and thick, about two minutes. This step incorporates air and helps the eggs cook evenly.
Heat the milk in a saucepan until it steams. Slowly pour the hot milk into the egg mixture while whisking constantly. This is the critical step. If you add the milk too quickly or stop whisking, you will scramble the eggs. Slow, steady whisking ensures the eggs cook gently and evenly. Once all the milk is incorporated, pour the entire mixture back into the saucepan.
Cook over medium-low heat, stirring constantly, until the mixture reaches 160 degrees Fahrenheit on an instant-read thermometer. This takes about eight to ten minutes. The custard should coat the back of a spoon. If you run your finger across the spoon, it should leave a clear trail. This is your signal that the custard is done. Remove it from the heat immediately and stir in the vanilla.
Let the custard cool to room temperature, then fold it into two cups of whipped cream. The texture will be less stable than the instant pudding version, so you will need to refrigerate it longer (at least three hours) before adding the ganache. The flavor, however, is richer and more complex than any instant mix can produce.
Stabilizing Whipped Cream for Longer Storage
If you are using homemade custard or if you want your filling to hold up longer in the refrigerator, you can stabilize the whipped cream with gelatin or cornstarch. For gelatin, dissolve one teaspoon of unflavored gelatin in two tablespoons of cold water, let it sit for five minutes, then heat it gently until it is liquid. Let it cool slightly, then whisk it into your whipped cream before folding in the custard. The gelatin will help the whipped cream maintain its texture for up to three days.
Cornstarch is a gentler option. Whisk one tablespoon of cornstarch into one tablespoon of cold milk to create a slurry. Heat this slurry in a small saucepan until it thickens, then let it cool. Fold it into your whipped cream before adding the custard. Cornstarch does not create quite as much stability as gelatin, but it produces a softer, more delicate texture that many bakers prefer.
The tradeoff with stabilization is that you gain shelf life but lose some of the airy, mousse-like quality that makes this dessert special. If you are serving the cake within twelve hours, stabilization is unnecessary. If you are making it a day or two in advance, it is worthwhile insurance.
How Long Should You Refrigerate Éclair Cake Before Serving?
Timing is not just about food safety here. It is about flavor development. This dessert actually tastes better the longer it sits. The graham crackers soften and absorb the flavors of the filling. The layers meld together. The chocolate ganache sets and becomes less greasy. The vanilla cream flavors deepen and integrate.
Chilling Times for Different Stages
After you press your graham cracker base into the pan and toast it (if you choose to), refrigerate it for at least fifteen minutes. This firms it up and prepares it to support the filling without crumbling. After you spread the filling, refrigerate for at least two hours. This gives the pudding time to set and prevents the filling from sliding around when you pour the ganache on top.
After you pour the ganache, refrigerate for at least thirty minutes. This gives the chocolate time to set and firm up. If your kitchen is warm or if you want a thicker, more stable ganache, refrigerate for an hour. You can serve the dessert after this point, but it will taste even better if you let it sit overnight.
Overnight refrigeration is the sweet spot. Twelve to twenty-four hours allows the layers to fully meld, the flavors to integrate, and the texture to reach its ideal state. The graham crackers are no longer crisp but not yet mushy. The filling is creamy and stable. The ganache is set but not hard. This is the moment the dessert tastes its absolute best.
You can refrigerate this dessert for up to four days before the graham crackers begin to break down and the filling starts to separate. Beyond four days, the texture deteriorates noticeably. Plan to serve it within this window for optimal results.
Storage and Make-Ahead Tips
Cover the dessert with plastic wrap before refrigerating. This prevents the ganache from absorbing odors from the refrigerator and prevents the filling from drying out. If you are storing it for more than a day, change the plastic wrap after twelve hours to prevent condensation from dripping onto the ganache.
You can freeze this dessert for up to two weeks. Freeze it uncovered until the ganache is completely firm, then wrap it tightly in plastic wrap and aluminum foil. Thaw it in the refrigerator for at least four hours before serving. The texture will be slightly different after freezing, a bit less delicate, but the flavor will still be excellent.
If you want to make this dessert two days in advance, assemble it completely and refrigerate it covered. Do not freeze individual layers and then assemble them later. The layers need to be in contact with each other to develop the integrated, melded texture that makes this dessert special.
What Are Common Mistakes in Making Éclair Dessert Recipes?
This dessert is forgiving, but it is not mistake-proof. There are a few specific things that go wrong, and knowing how to avoid them means the difference between a dessert you are proud to serve and one you wish you had not made.
Why Your Cake Became Soggy and How to Prevent It
Sogginess is the most common complaint. People make this dessert, refrigerate it, and discover that the graham crackers have turned to mush and the whole thing feels like wet sand. This happens when you use the wrong crackers or when you do not pack your base firmly enough.
Honey graham crackers absorb moisture faster than plain ones. If you used honey crackers and your dessert turned soggy, that is why. Switch to plain or lightly salted crackers next time. They absorb moisture more slowly and maintain their structural integrity longer. Additionally, the honey flavor competes with the vanilla and chocolate, so plain crackers taste better anyway.
A thin, loosely packed base is another culprit. If you pressed your cracker-butter mixture into the pan quickly without firming it down, the layers below are not providing enough resistance to the moisture from the filling. Spend an extra thirty seconds pressing your base firmly and evenly. If you toasted it, even better. A toasted base is significantly more resistant to moisture absorption.
Finally, do not refrigerate this dessert for longer than four days. After this point, the graham crackers have absorbed so much moisture that they lose all structural integrity and the dessert becomes unpleasantly mushy. Plan to serve it within four days for the best texture.
Fixing a Broken or Separated Ganache Topping
Sometimes the ganache breaks or separates, creating a grainy, oily mess instead of a smooth, glossy topping. This usually happens because the temperature is wrong. If the ganache is too hot when you pour it, it can break the whipped cream filling below and cause separation. If the chocolate is too cold, it will seize and become grainy.
The fix is to let the ganache cool to about ninety degrees Fahrenheit before pouring it over the filling. This is warm enough that it flows smoothly but cool enough that it does not damage the layers below. Use an instant-read thermometer if you have one. If you do not, wait about five minutes after making the ganache before using it.
If your ganache has already broken, you can sometimes rescue it by gently warming it and whisking in a tablespoon of cream at a time until it emulsifies again. Work slowly and do not overheat. If this does not work, accept that you will have a slightly textured ganache instead of a smooth one. It will still taste good, even if it does not look perfect.
How Can You Customize Your Éclair Cake?
The original recipe is chocolate and vanilla. But you can build on this foundation in dozens of ways without losing what makes this dessert special. The key is to maintain the basic structure: a firm base, a creamy filling, and a flavorful topping. Everything else is negotiable.
Flavor Swaps Beyond Chocolate
Coffee is the most natural variation. Replace the vanilla pudding mix with instant coffee pudding, or add two tablespoons of instant espresso powder to the homemade custard. Keep the chocolate ganache. The combination of coffee and chocolate is classic for a reason. It works.
Salted caramel is another winning direction. Use caramel pudding mix for the filling or make a caramel sauce by melting one cup of sugar with six tablespoons of butter, then stirring in one-half cup of heavy cream and one teaspoon of sea salt. Let it cool before folding it into the whipped cream. Replace the chocolate ganache with a caramel drizzle or keep the chocolate and enjoy the contrast.
Vanilla bean is a subtle upgrade to the original. Split a vanilla bean, scrape the seeds, and fold them into the filling along with the whipped cream. Use real vanilla extract instead of imitation. These small upgrades elevate the flavor without changing the basic structure or difficulty of the recipe.
Cream cheese is another option. Mix eight ounces of softened cream cheese with one-quarter cup of powdered sugar, then fold in the whipped cream and pudding. The cream cheese adds tang and richness that deepens the overall flavor profile. This works especially well with the coffee variation.
Topping and Garnish Ideas
Beyond the classic chocolate ganache, you can finish this dessert with cocoa powder, shaved chocolate, crushed candy, or nuts. A dusting of cocoa powder is the simplest upgrade. Apply it after the ganache has set, using a fine-mesh sieve and a light hand. The cocoa adds visual appeal and extra chocolate flavor.
Shaved chocolate curls create a more elegant presentation. Use a vegetable peeler on a block of chocolate and scatter the curls over the set ganache. Crushed toffee bits, chopped hazelnuts, or crushed pistachios add texture and flavor contrast. A sprinkle of sea salt over the ganache echoes the salted-caramel trend and adds sophistication.
For a special occasion, you can pipe whipped cream around the edges or add fresh berries on top. These garnishes should be added just before serving, not hours in advance. They add visual drama without compromising the integrity of the dessert.
Is This Original Recipe Suitable for Special Diets?
Dietary restrictions do not mean you cannot make a version of this dessert. The basic structure is flexible enough to accommodate most modifications. You may not get exactly the same result, but you will get something delicious.
Gluten-Free Graham Cracker Alternatives
Gluten-free graham crackers exist and work reasonably well as a base. Brands like Honey Maid make a gluten-free version that tastes nearly identical to the original. Texture-wise, they are slightly more delicate, so pack them a bit more firmly into the pan to ensure they do not crumble. The rest of the recipe remains unchanged.
If you cannot find gluten-free graham crackers, you can use gluten-free digestive biscuits or even gluten-free vanilla wafers. The flavor will be slightly different, but the texture and function are similar. Crush them, mix with melted butter, and press into the pan as you would with regular graham crackers. The baking time and technique remain the same.
Dairy-Free and Vegan Modifications
Dairy-free pudding mixes exist and work well in this recipe. Use them in the same ratio as regular pudding. For the whipped topping, use a dairy-free, plant-based alternative. Brands like Oatly and So Delicious make whipped toppings that work reasonably well, though they are slightly less stable than real whipped cream. Fold them in gently and refrigerate longer before serving.
For the ganache, use a dairy-free dark chocolate and coconut milk instead of heavy cream. The ratio is the same: one cup of coconut milk to six ounces of chocolate. The texture will be slightly different, a bit less glossy, but the flavor will be excellent. Coconut milk and chocolate are a classic pairing for a reason.
For a fully vegan version, use vegan butter in the graham cracker base instead of regular butter. Everything else follows the dairy-free modifications above. The result is not identical to the original, but it is a genuinely delicious dessert in its own right.
Frequently Asked Questions
Can I Make Éclair Cake Without Freezing It Ahead of Time?
Yes, but it tastes better with time. The minimum refrigeration is two hours after you add the filling and thirty minutes after you add the ganache. You can serve it after this point. For optimal flavor and texture, refrigerate it overnight. The extra time allows the layers to meld and the flavors to integrate.
What Is the Difference Between Éclair Cake and Tiramisu?
Both are no-bake, layered desserts that benefit from refrigeration. Tiramisu uses ladyfinger cookies, mascarpone, and espresso. Éclair cake uses graham crackers, pudding or custard, and chocolate. The flavor profiles are completely different. Tiramisu is coffee-forward and rich. Éclair cake is vanilla and chocolate, simpler and more approachable.
Can I Use Chocolate Pudding Instead of Vanilla for the Filling?
Absolutely. Some versions of this dessert use chocolate pudding for a double-chocolate effect. Use the same ratio: two packages of instant chocolate pudding to three cups of milk. Fold in the whipped topping as usual. The result is richer and more intensely chocolatey than the original.
How Do I Know When the Ganache Is Ready to Pour?
The ganache should be smooth, glossy, and pourable but not runny. If it is too hot, it will break the filling below. If it is too cool, it will be too thick to spread evenly. The ideal temperature is around ninety degrees Fahrenheit. It should flow slowly when you pour it, not drip rapidly.
Can I Make This Dessert in a Different Pan Size?
Yes, but adjust your quantities accordingly. A nine-by-thirteen-inch pan is the standard. If you use a smaller pan, reduce all quantities proportionally and expect a thicker dessert. If you use a larger pan, increase quantities and expect a thinner dessert. The baking times and chilling times remain the same.
What Should I Do If My Filling Is Too Thin?
If your filling is too thin, it is usually because you did not use the correct ratio of pudding mix to milk. The ratio is crucial: two packages of instant pudding to three cups of milk. If you have already mixed it, you can fold in a bit more whipped topping to thicken it, but this may compromise the flavor. Next time, measure precisely and whisk the pudding for the full two minutes to ensure it sets properly.
Can I Add Alcohol to This Dessert?
Yes. A tablespoon or two of coffee liqueur, chocolate liqueur, or brandy can be folded into the filling for extra depth. Add it to the pudding mixture before folding in the whipped topping. The alcohol will not cook off, so use it sparingly if you are serving this to people who prefer not to consume alcohol.
How Do I Cut This Dessert Neatly?
Use a sharp knife dipped in hot water and wiped clean between each cut. The heat helps the knife glide through the layers without dragging or tearing. A serrated knife works well for this task. Cut slowly and deliberately. If the knife starts to stick, dip it in hot water again.
The Layers Do the Work
What you have learned here is that the original éclair cake recipe is not complicated because it does not need to be. The simplicity is the entire point. You are not trying to impress anyone with technical skill. You are trying to create a dessert that tastes like someone spent hours on it, using ingredients you already have and techniques you can execute without breaking a sweat.
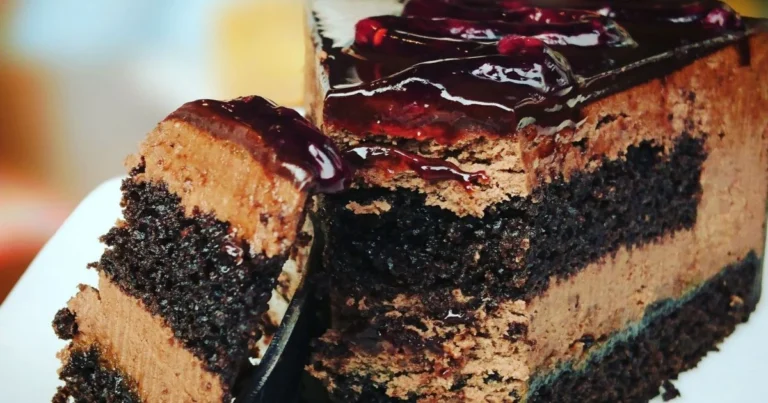
The graham crackers soften and absorb the filling. The pudding sets and holds its shape. The chocolate ganache firms and creates a glossy, professional-looking finish. Each layer does its job. Together, they create something greater than the sum of their parts. This is not accident. It is by design. The recipe has survived for decades because every element serves a purpose, and nothing is wasted or unnecessary.
Make this dessert this week. Refrigerate it overnight. Cut into it and watch the layers reveal themselves. Taste it and understand why people have been making this exact dessert since the nineteen-seventies. Then make it again, but with coffee instead of vanilla. Then make it with salted caramel. The foundation is so solid that you can build anything on top of it and still land on your feet. That is the real magic of this recipe.